Showing posts with label crafts. Show all posts

Thursday, January 9, 2014

Kindergarten Tidbits From December (and a Freebie!)

I did manage to get some of Colby's December activities posted last month!  It was a minor miracle, believe me.  Here are a few of the tidbits that I missed:


More Christmas measuring for my little monkey!  This fun, free activity is based on the book "The Polar Express".  


Both the book and the movie are a big part of our annual family festivities, and Colby got a kick out of measuring with strips of silver sleigh bells!


He recorded his measurements on the beautiful sheets provided.  For a free copy of "Silver Bells Measurement", visit Amber Monroe's blog here!


This little project was perfect for Colban.  It combines the alphabet and letter sounds with the story of the first Christmas (with an unflinching message of salvation, and eternal life).


Here Colby displays one of his favorite pages.  He cut and pasted the letter "b"s, and carefully colored the little town of Bethlehem.


Here's a closer look at another page.  With so many pages it was a time-consuming project for my little guy, but we spread it out over several weeks.  The finished product was well worth it.  You can get a copy of "The First Christmas - A Beginning Sound Reader" right here.  It's only $1.50!  We loved it.


This too-cute reindeer craftivity was originally a writing project for Hunter, but when Colby saw what his older brother was up to he had to make one, too!  Luckily, the product included so many options it was easy to find a page suitable for my little kinder.  He enjoyed labeling the different parts of the reindeer, and completing the craft.  These look fabulous up on the wall!  We got them here.  (If you want to see Hunter's version, check it out here.)
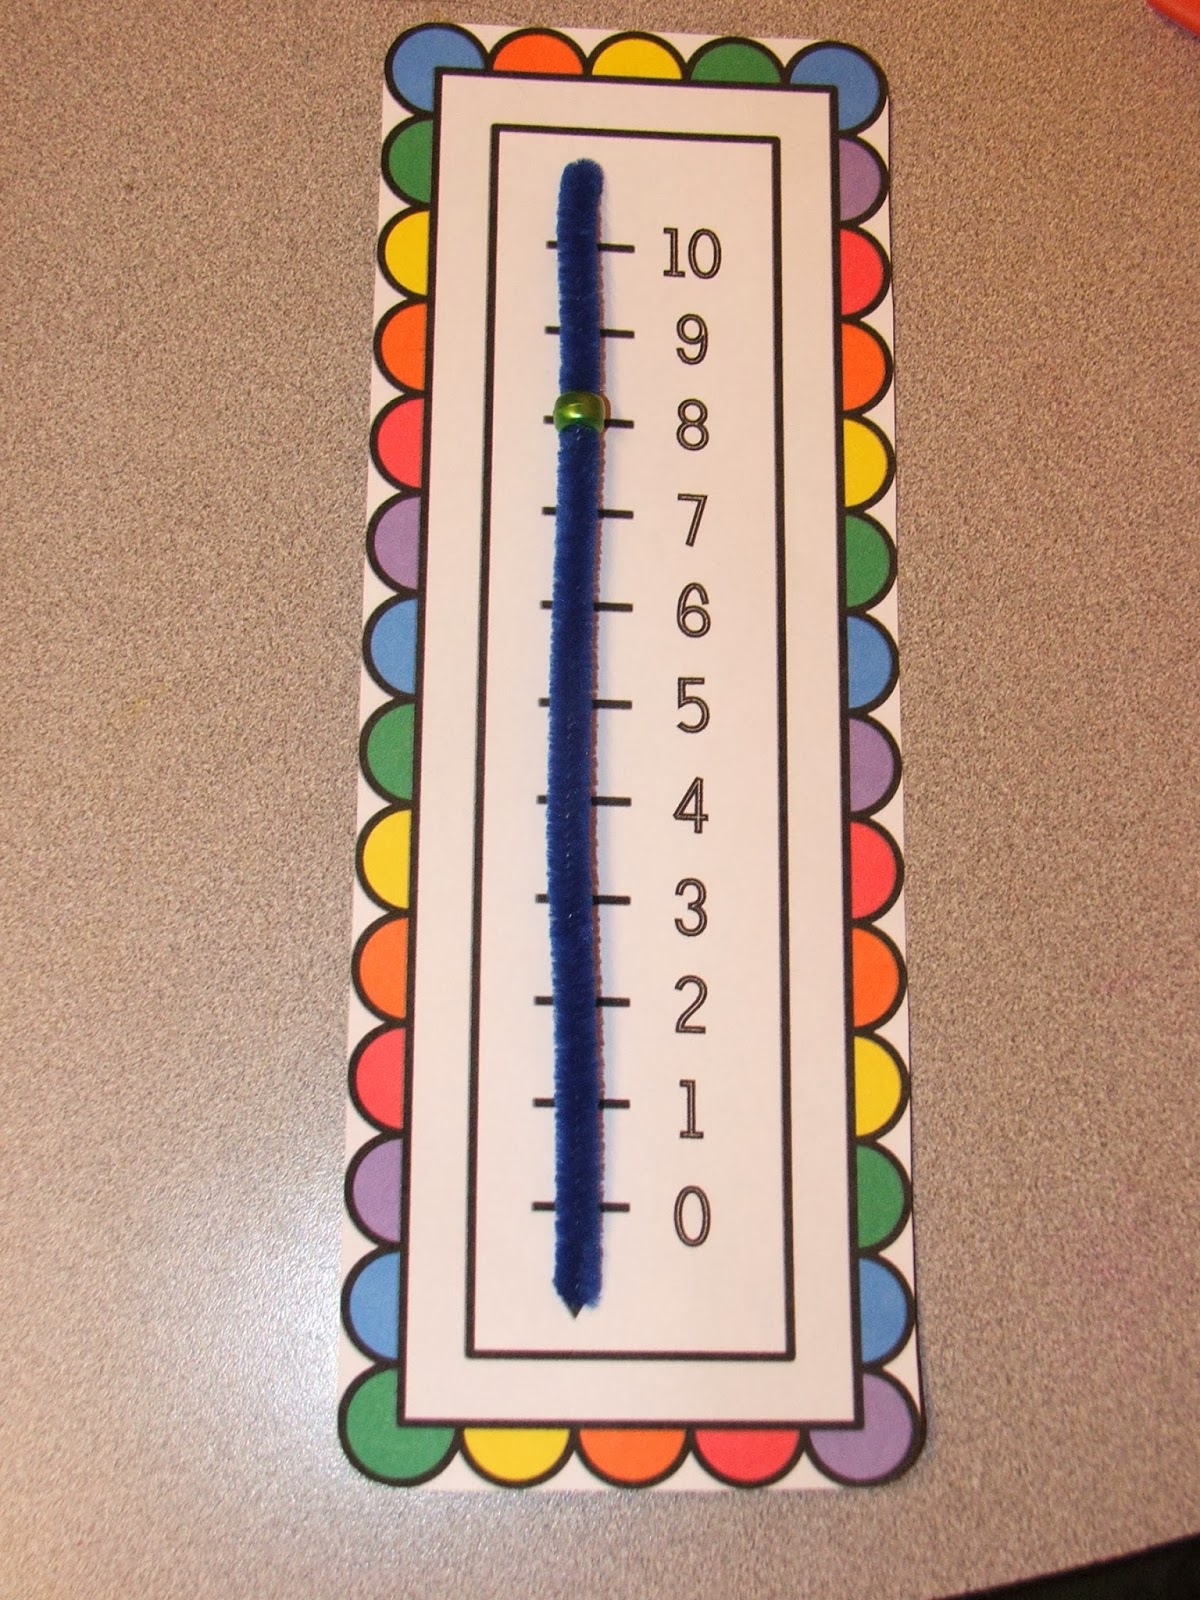

And now, a little freebie!
This number line has proved extremely useful in our classroom, particularly for simple addition, subtraction, and "counting on".


Colby was requesting it so often that we now just keep it on the table, within reach at all times.  
I've included two versions - the vertical one shown, and a horizontal one.  All you need to assemble them is cardstock to print on, a pipe cleaner, and a pony bead.


Blogs and TpT stores mentioned in this post:


Thanks for visiting!  Enjoy!


Tuesday, January 15, 2013

Australian Aborigines

In Hunter's history book (The Story of the World: History for the Classical Child: The Middle Ages) there's a chapter on the Aborigines of Australia.  It's a lot harder to find teaching materials on the Aborigines as compared to, say, the Vikings, but we found some interesting books and projects.  Here are a few things we used to get a more in-depth look at the Aborigines:


Sun Mother Wakes the World: An Australian Creation Story by Diane Wolkstein is a beautiful introduction to Aboriginal beliefs about nature and how the world and all the creatures in it came to be.  There's even an explanation for the many unique animals native to Australia, such as the platypus and kangaroo.  This book is a great jumping-off point to talk to children about more complex Aboriginal beliefs such as the Dreamtime, the continual process of creation in which art and "walkabouts" play a part.  (Parents who want to learn more about Aboriginal spirituality and myth before teaching, try this site, or this one).


Ready to Dream, by Donna Jo Napoli.  This easy picture book tells the story of a young girl named Ally who travels to Australia.  Ally wants to capture her impressions of the Outback in her artwork, but she keeps "messing up" her creations.  When Ally meets an Aboriginal artist named Pauline, she learns to rejoice in each mishap and see how it adds to her art.  Children will learn something of the attitude of Aborigines toward nature and art (for which their culture is famous).  The beautiful illustrations of Bronwyn Bancroft, an Aboriginal artist and children's book illustrator, are an education in and of themselves.

For an art project, we chose Aboriginal dot painting:


We used spouncers for the dots, but q-tips would probably work even better.  We looked at examples of Aboriginal art online, and my son was inspired by the flyer from an Aboriginal art sale! (See it here).  I pretty much just provided tempera paints, brushes and spouncers, and a piece of poster board (he chose black), and got out of the way.

He had a lot of fun, and was very proud of his creation. As soon as it was dry, he had me hang it up on his bedroom wall.  Here are some great sites to get tips and instructions on Aboriginal dot painting for children, as well as other Aboriginal crafts and activities:


For more ideas on studying Aborigines and Australia, including free printable Aboriginal art coloring pages, try our "Australia for Kids" Pinterest board here.

A few good websites for viewing Aboriginal art online are:

Australian Aborigines are the oldest continuous culture on the planet; we hope you have as much fun learning about them as we did!

Friday, October 19, 2012

Easy Bird Treat Craft For Kiddos


It's pretty important that I find ways to keep my 4-year-old son occupied on rainy days - without a chance to go outside and burn off some of that excess energy, he'll get into anything and everything in an attempt to stave off boredom.  A few weeks ago we made some cute birdseed treats to hang on the branches outside his bedroom window.  They were fun and easy to make, came out great, and Colby got a huge kick out of seeing the birds pecking at them.  The finished product was so nice that we gave some as gifts, and plan to make more for Christmas!


All you need to make them is:

  • 3/4 cup of birdseed (we used wild birdseed)
  • 1 small envelope of Knox gelatine
  • 1/4 cup of water
  • Some twine or sturdy string
  • Cookie cutters of your choice
  • Wax paper

Step by Step:

  1. Mix the envelope of gelatine with the 1/4 cup of water in a small pot or saucepan, and bring it to a simmer while stirring, until all the gelatine is dissolved
  2. Remove the pot from the heat and allow to cool for a minute
  3. Stir in the 3/4 cup of birdseed (you may need to add a little more if there is still liquid in the bottom of the pan)
  4. Place your chosen cookie cutter on the wax paper and fill it HALFWAY with the birdseed mixture
  5. Cut a length of twine, knot the end so that it forms a loop, and push the knot into the birdseed
  6. Continue to fill the cookie cutter with the birdseed mixture, covering the knot and the ends of the twine, leaving the loop hanging out
  7. Press the birdseed mixture evenly into the cookie cutter until it's full
  8. Let them dry overnight, turning them over occasionally
  9. When dry, pop them out of the cookie cutter and hang them in a tree!
For pictures of the step-by-step instructions, try eighteen25's post.

We hope you enjoy this simple craft as much as we did, it's perfect for little hands! 

Saturday, August 4, 2012

Tie-Dyeing T-Shirts!

So far, we don't use any formal art curriculum in our school.  We use a fraction of our budgeted "school money" to make sure we have a variety of art and craft supplies on hand when inspiration strikes, and either buy art books or check them out of the library for the boys to browse through.  Occasionally we splurge on craft kits.  This summer we tried the Jacquard Tie Dye Kit and made some pretty cool t-shirts.  I'd seen the kit at the craft store for about $25 and thought it was too expensive, but when I stumbled across it on Amazon.com for much less I bought it on impulse.  It sat in the basement for a while until I had enough extra money on hand to get some white cotton t-shirts, which I found in the boys department at Wal-Mart for $5 each.  I bought two shirts for each of my kids to dye.  I ended up wishing I'd bought more!  The boys had a blast, and the shirts came out great:


There was plenty of dye left over in the kit to do more, so I'm going to get some more shirts and let the kids have some more fun.  Now that they've seen the finished products, I think they'll have a better idea what they're trying to accomplish while dyeing.  Even without really knowing what they were doing, they really enjoyed it and learned a lot about mixing colors.  The kit comes with dye in the primary colors, but as you can see the boys quickly figured out how to make orange, green, and purple.  They love showing off their shirts, and I like that the money spent on this project ended up paying for a fun afternoon, a great learning experience, and four new shirts that my boys can wear until they outgrow them.

I highly recommend the kit to any family looking for a fun art project.  Click on the image below to check it out at Amazon.com; I have yet to find them at a better price.


Note:  If you have more than one child, you may want to buy a few extra pairs of latex gloves so nobody tie-dyes their hands!